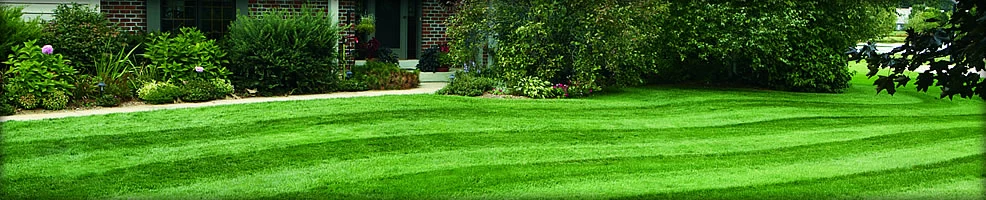
It’s not enough to just pull out your Mower Source lawn mower, throw it back and forth a couple of times, and call it a day. To really get an ace-looking lawn, the devil lies in the details: mulching, watering and edging. In this post, we’ll take a look at the last point and what’s involved in getting your lawn looking as though it was professionally designed. Because at the heart of every beautiful lawn isn’t someone whose sole occupation is landscaping, but a person who’s able to recognize the difference between a job mostly done and a job really taken to the nth degree. Edging, in particular, keeps your lawn looking crisp and neat, even when the rest of it may be suffering a bit. The key is to make sure all areas are looked after, but for now, we’ll tackle edging.
Mow the Lawn First
To get the most accurate sense of how much you should be edging and what needs to be done, cut your lawn first. This’ll put the grass at a mostly even length throughout, and make your edging job a lot easier. Don’t worry too much about use a weed trimmer to really get the corners done well, as you’ll be focusing on that a little bit later on.
.
Mark out the Edges
There are some people who have a natural eye in being able to size something up right away, and quite accurately measure it for dimensions and perspective (think of hanging pictures on a wall). However, not everyone has this knack, so don’t leave anything to chance and measure it out by hand. When it comes to your lawn, you don’t have many second chances at making sure the lines are as straight, neat and even as they should be.
One way of marking out the edges is to use chalk to draw a line where you want your new edges to be. Once your line is drawn, take a spade or gardening shovel and make half-moon indentations a few inches deep. Or if you don’t have chalk, just lay out your garden hose in a straight line and make your half-moon indentations that way.
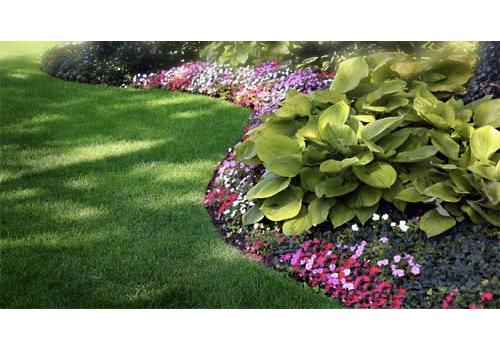
Separate the Turf from the Edges
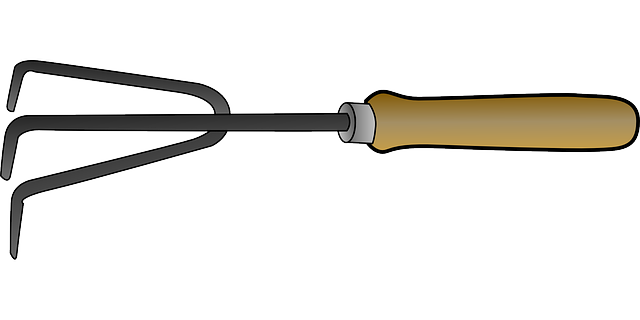
Now that you know exactly where your edges are going to be, it’s time to take the turf out and create your new border. This can be both the easiest and hardest part of the process, as people can use either any tool they want or proper edging tools. If you’re up for a bit of MacGyver-ing, then go ahead and pull out those bits of turf with a spade, your hand, or anything else you’ve got around. But for an easier time — which also means investing in the right tools — then use an edger or pair of sharp shears. Whatever tool you use, just make sure you keep the edges going down at a right angle to make it look as good as possible.
.
Tidy Up the Last Few Details
There are two ways of finishing up your edging job:


