
As you push your lawn mower back and forth, you probably don’t think much about how to maximize what you’re doing. But adding one crucial element can change all that and you don’t even have to think twice about it.
Most of us have seen Edward Scissorhands and remember the scene when he whips Peggy’s yard into a work of art, making it go from an overgrown mess into the jewel of the neighborhood crown. While showing how to do Edward’s job is a lot more involved than one blog post — it takes artists years of practice to develop that kind of skill — it is possible to learn a few tips and pointers about what makes neat and tidy shrubs. It’s not an overly difficult task and certainly not one you’d need to hire someone to do, just as long as you’re methodical, don’t skip a step, and be patient with yourself. Plus, having the right Mower Source tools will go a long way in ensuring the job is as smooth as possible.
.
Starting Small: Pruning
If you’ve maintained your shrubbery year round in a nice shape, then your task here is small. Branches, unfortunately, don’t grow uniformly and evenly and will need a bit of shaping, sort of like regular haircuts for yourself. The key is to be a little conservative because you’re this late in the season, and just prune the stuff that’s sticking out waywardly. The kinds of branches you’ll want to tackle will be thin and weak- or dead-looking, making a 45-degree angle cut just above a node of new growth.
Jumping In: Making Something Out of a Mess
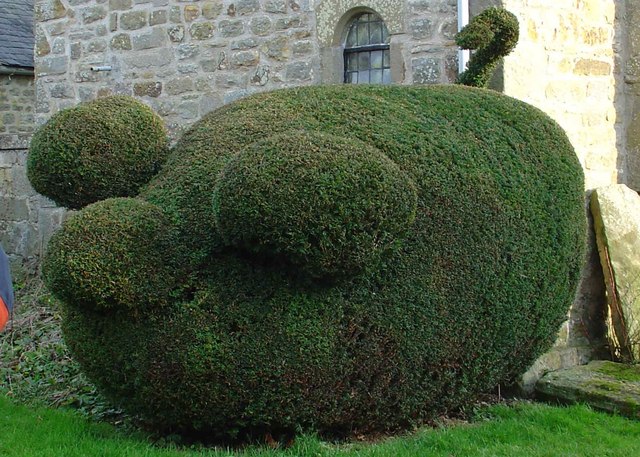
At the opposite end of the spectrum from above is shrubbery that hasn’t been touched at all, a sort of before picture until Edward Scissorhands got his paws on it. You’ll first want to trim off any tangled or really long branches from the top, front and sides; if your shrubs are up against a wall, lop off any of the really long branches that stick out awkwardly.
.
Next you’ll be giving it a generally tidy shape, which can be easy or difficult, depending on whether or not you have an eye for straight lines. Many people don’t, and it’s easier to take a couple of pre-steps to ensure your shrubs don’t slope. Just put up a stake at either end of your shrubs, tie a string across, and use a carpenter’s level to make sure it’s straight. For bigger shrubs, have two stakes at either end: one for the front of the shrub and one for the back.
You can use the same stakes for both the tops and fronts of your shrubs, simply adjusting where the strings are. For a straight line on the top, keep the strings on the top. For a straight line on the front, move the strings to the front.
Going Artistic: Fine-tuning What’s Already Been Shaped
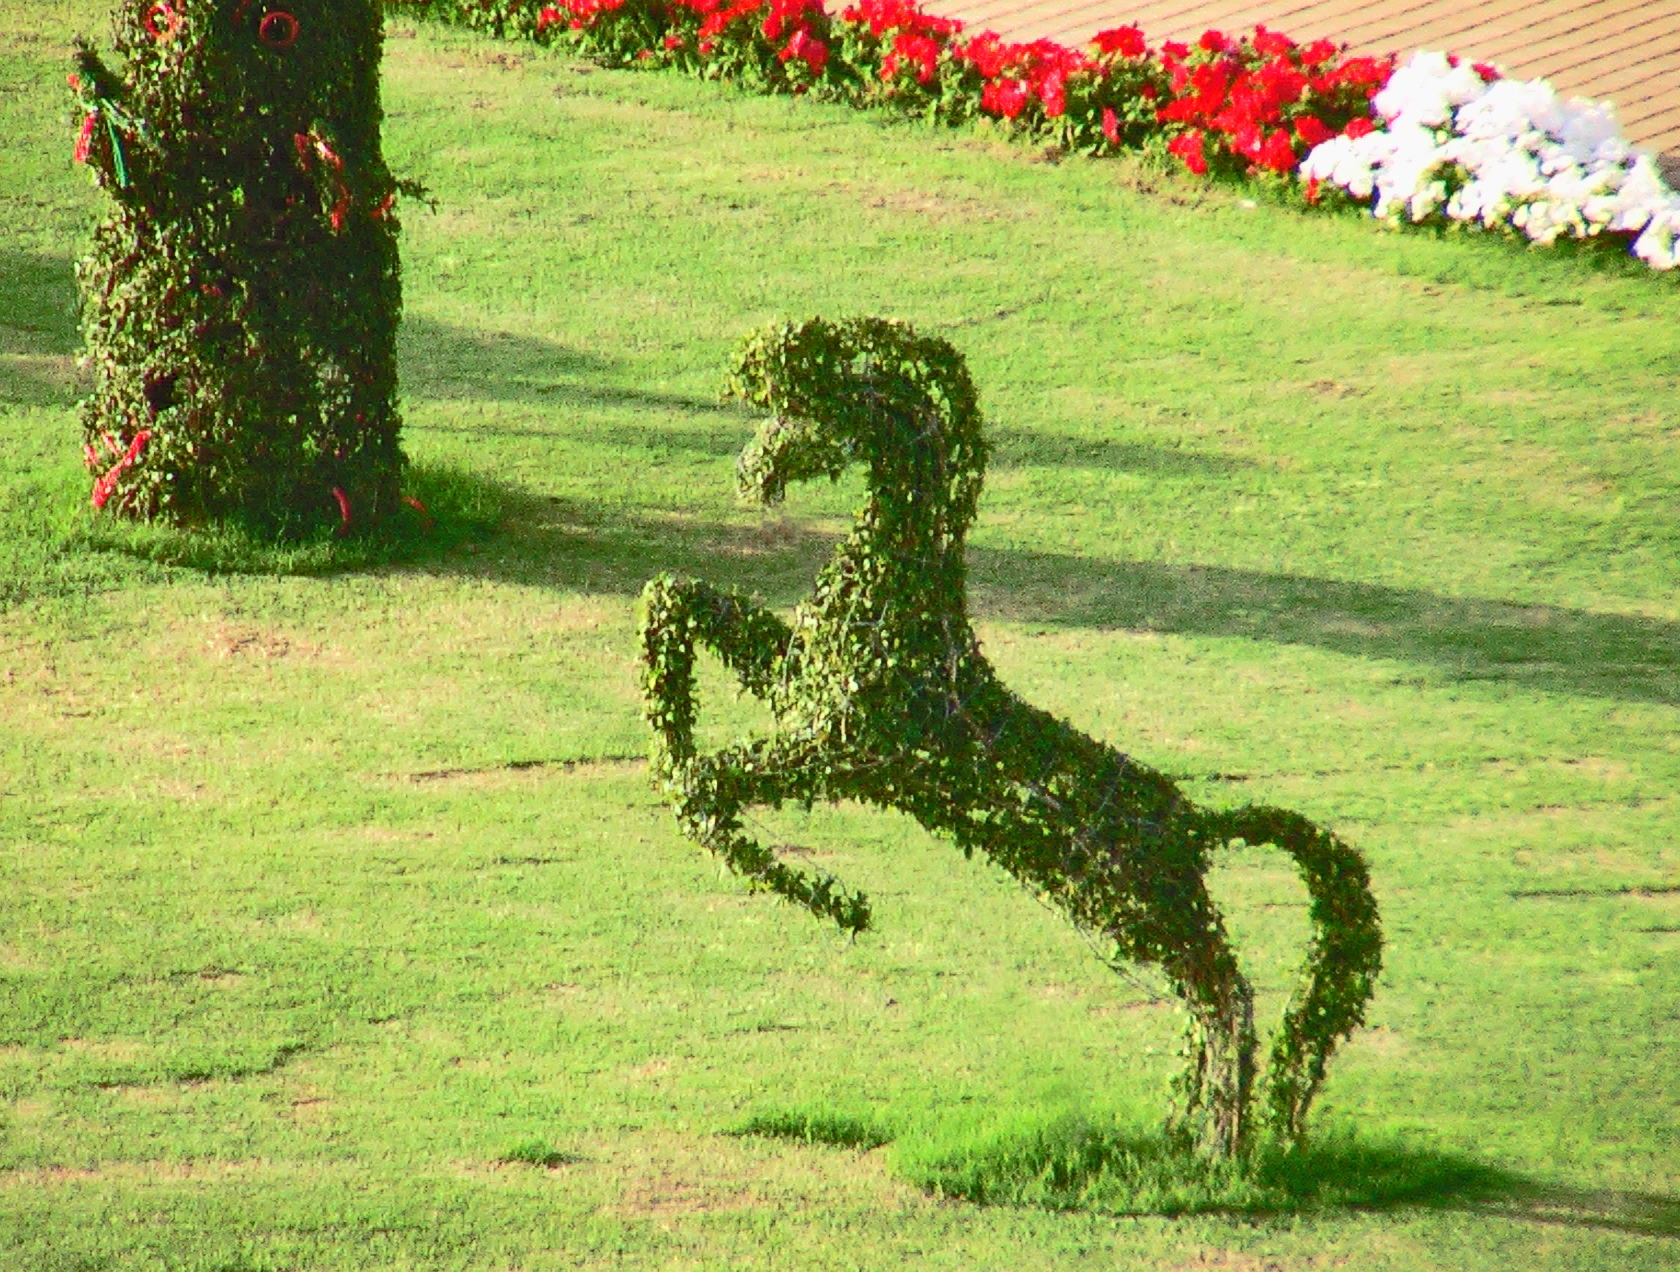
If you’re intent on making your bushes and shrubs into shapes, like cats or lollipops, then you need to start when the plants are still relatively young, such as before they’re two feet high. After that, you’ll be wrestling with a lot of growth, which will make your job more suited to professionals.
The two basic shapes you’ll be starting with are either an oval or a square, both of which can be shaped into more complex looks as they grow. Next, get a hold of some chicken wire to bend into basic shapes, using zip ties to hold the wires together into a frame (the frame will go over your bushes), and only trim a few inches at a time (about once a month). Remember, complex shapes like animals will takes years to become fully formed, so go at it patiently and with a long-term view in mind.
Mower Source is your go-to place when it comes to both high-quality tools and all things related to your yard. Having the right hedge trimmers will make your job infinitely easier, so check out our selection now and enjoy free shipping on every item.
It’s not enough to just pull out your Mower Source lawn mower, throw it back and forth a couple of times, and call it a day. To really get an ace-looking lawn, the devil lies in the details: mulching, watering and edging. In this post, we’ll take a look at the last point and what’s involved in getting your lawn looking as though it was professionally designed. Because at the heart of every beautiful lawn isn’t someone whose sole occupation is landscaping, but a person who’s able to recognize the difference between a job mostly done and a job really taken to the nth degree. Edging, in particular, keeps your lawn looking crisp and neat, even when the rest of it may be suffering a bit. The key is to make sure all areas are looked after, but for now, we’ll tackle edging.
Mow the Lawn First
To get the most accurate sense of how much you should be edging and what needs to be done, cut your lawn first. This’ll put the grass at a mostly even length throughout, and make your edging job a lot easier. Don’t worry too much about use a weed trimmer to really get the corners done well, as you’ll be focusing on that a little bit later on.

.
Mark out the Edges
There are some people who have a natural eye in being able to size something up right away, and quite accurately measure it for dimensions and perspective (think of hanging pictures on a wall). However, not everyone has this knack, so don’t leave anything to chance and measure it out by hand. When it comes to your lawn, you don’t have many second chances at making sure the lines are as straight, neat and even as they should be.
One way of marking out the edges is to use chalk to draw a line where you want your new edges to be. Once your line is drawn, take a spade or gardening shovel and make half-moon indentations a few inches deep. Or if you don’t have chalk, just lay out your garden hose in a straight line and make your half-moon indentations that way.
Separate the Turf from the Edges
Now that you know exactly where your edges are going to be, it’s time to take the turf out and create your new border. This can be both the easiest and hardest part of the process, as people can use either any tool they want or proper edging tools. If you’re up for a bit of MacGyver-ing, then go ahead and pull out those bits of turf with a spade, your hand, or anything else you’ve got around. But for an easier time — which also means investing in the right tools — then use an edger or pair of sharp shears. Whatever tool you use, just make sure you keep the edges going down at a right angle to make it look as good as possible.
.
Tidy Up the Last Few Details
There are two ways of finishing up your edging job:
Check out Mower Source for everything you need to give yourself a great-looking lawn, whether it’s our stellar collection of lawn mowers or that edger you need to make your job easier. And with whatever you buy, enjoy free shipping to the lower 48 states.
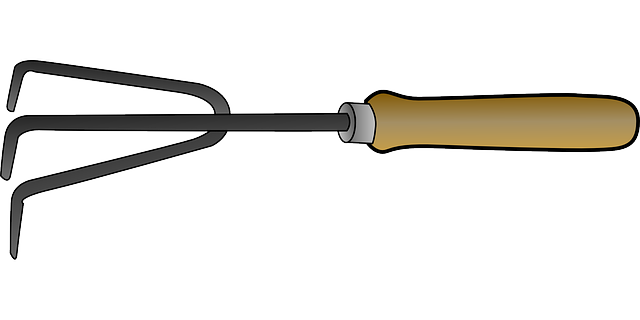
While some homeowners may be content to shop for a Mower Source lawn mower, wait for it to be shipped, and use it once it arrives, there’s a lot more to a tidy green lawn than just the mower. Accessories can be the make or break factor for a job done easily, and we’re here to show you the top ones that would love to find a home in your shed. We’ve selected our list based on necessity, cost and efficiency, always keeping you, our dear reader, in mind.
.
1. Replacement Blades
Just like tires are one of the most important parts of you car, blades perform the same function. If we had to isolate one part, and one part only, that help your lawn mower do the best job possible, it’d be the blades, hand down. They make constant contact with grass blades, cutting them down to just the length you’ve set it to. But dull blades? All you’re doing is pressing down the blades, making the job a lot harder for yourself and leaving your lawn looking sloppily cut. A set of spare blades will only set you back about as much as it costs to go to the movies, give or take a bag of popcorn or two.
2. Lawn Mower Cover
We know that when the top priority is buying land and a house, other things can get compromised, like storage space. However, a lawn mower is not one of the things that should be left exposed to the elements, as the sun, rain, dirt and wind can wreak a little bit of havoc on your machine. The UV rays from the sun can damage your tires, the rain can rust the metal parts, and the wind and dirt can cause tiny little critters to make your lawn mower their new home. Buying a lawn mower cover is a bit pricier than a set of spare blades, but it’s still a worthy investment when you factor it against the cost of buying a new lawn mower prematurely.
.
3. Mulching Kits
We’ve written before about how much better it is to mulch your lawn — especially using the materials available on your lawn itself — than to simply mow it. It revitalizes your grass, adds incredibly important nutrients, and helps keep your lawn healthy, happy and long-living. And while you could take the long way around by mulching by hand or trying to MacGuyver your lawn mower to do it, it’d be so much easier to just get a mulching kit and have your work cut in half. The price is quite a bit higher than the previous two entries (think the mid-100s), but think of this analogy: washing clothes with a manual washing machine is free, but it takes an incredibly long amount of time and a lot of elbow grease. A washing machine, on the other hand, can be pricey in comparison, but makes the job so much more incredibly easier. A mulching kit is the same way.
You’ve got a Mower Source lawn mower, you’ve got the three lawn mower accessories you need, and now you’ve got an incredible summer set ahead for you. But just in case you don’t have any of what we just talked about, take a look at our inventory and find the perfect products for yourself. Not only do we have free rush-order processing, but we have free shipping on every single item, too.

Do you sharpen your lawn mower blade each season? Dull blades are not good for your lawns health. A dull blade rips grass when a sharp blade will cut it. This leaves the grass susceptible to disease. Along with cutting the grass clean, a sharp blade will cut back your lawn mowing time. It is best to sharpen your blade twice each season to maintain a healthy lawn. Here is a guide to sharpening your lawn mower blades.
Removing the Blade
Make sure to remove the spark plug before you remove the blade. This will ensure that the blade does not chop your hand off when you are removing it! Next you’ll want to tip the mower on its side with the carburetor and air filter up so gas does not leak into the air filter. Finally, remove the blade. For the best results you will want to put a 2×4 in between the blade and deck so the blade does not move around when you remove it with a wrench.
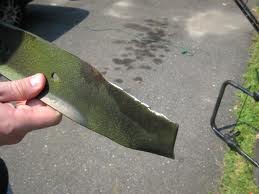
Sharpening the Blade

After you remove the blade you should mark it with spray paint. Lawn mower pros have found that one of the biggest mistakes homeowners make is putting the blade back on the wrong way after sharpening it. If your blade is not too dull you should clamp it in a vise and use a metal file to sharpen it. File the blade until it is as sharp as a butter knife. Make sure to file on the top side of the cutting edge to get the longest lasting edge on the blade. If the blade is badly damaged it may be time to replace it. You could use a grinder to sharpen it but they are harder to use and can overheat or damage the blade if not used correctly.
Re-installing the Blade
Before re-installing the blade you’ll want to make sure that it is balanced. An unbalanced blade will vibrate which could cause damage to the blade shaft or bearings. You can check the balance by hanging the blade on a nail in the wall. If it falls more to one side than the other then it is unbalanced. If that happens keep filing until it falls evenly. Next re-install the blade. Don’t worry about over tightening the bolt since this is hard to do.
Looking For Promotions, Discounts, and Coupons?


